
The Raspberry Pi microcomputer makes a great platform for emulating older console games from a variety of different systems. I’ll show you how to set up a Raspberry Pi 4 with RetroPi to create a very easy to use emulator that you can plug into your TV to play old video games.
One word of warning is you should only emulate games that you actually own or that are free from copyright otherwise you will be breaking the law in the United States and most likely in other countries as well.
Requirements
- Raspberry Pi 4 (Model B)
- Power supply for the Raspberry Pi 4 (Note that this needs to be good 3.0A power supply)
- A USB controller, keyboard, or joystick to play the games and move through the RetroPie menu when connected to a monitor or TV
- A microSD card that is large enough to hold howerver many games you plan on having
- An HDMI cable to plug into a monitor or TV
- Micro HDMI male to HDMI female adapter
Preparing the SD card
Start by plugging in the MicroSD card into your computer
Next download the Raspberry Pi OS imager program from here
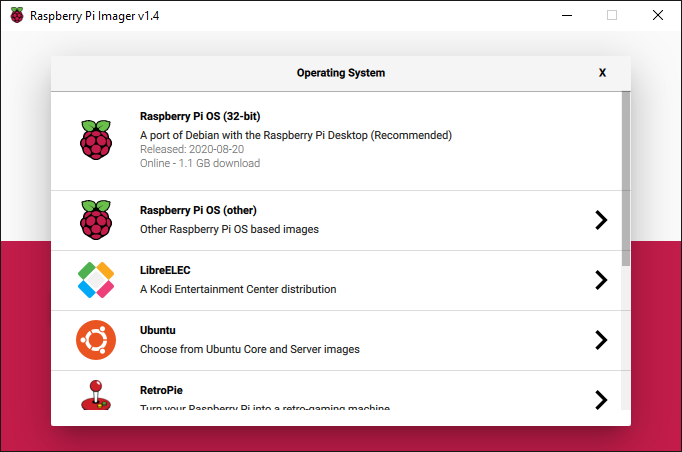
Open the Raspberry Pi OS imager program

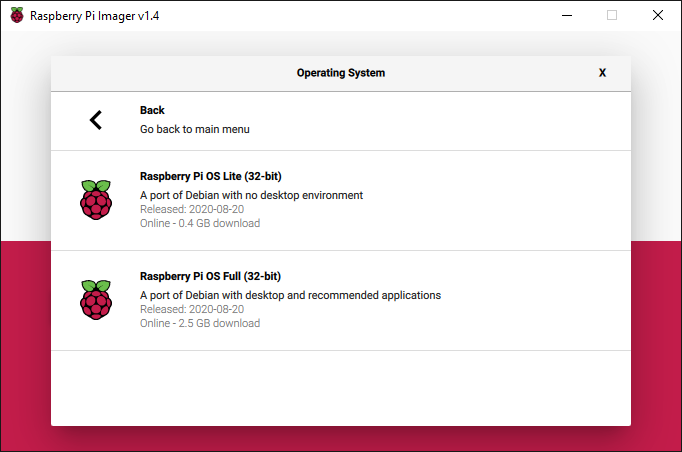
Click Choose OS then Select Raspberry Pi OS (other)
Choose Raspberry Pi OS Lite
Click Choose SD Card and select the SD card you plugged in earlier
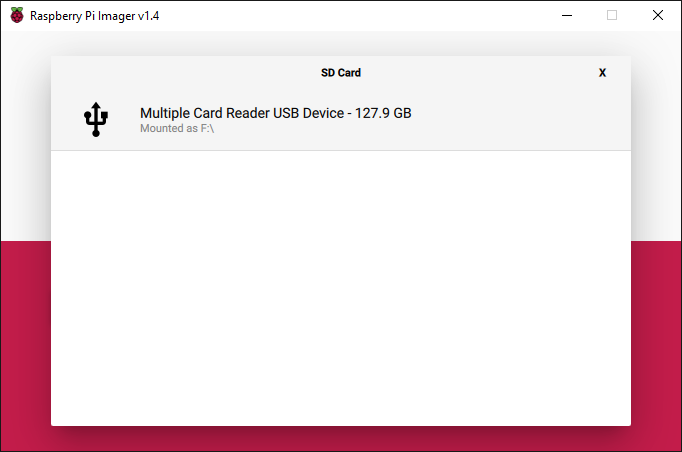
Click Write to write the image to the SD card
Powering on and Connecting to the Raspberry Pi
You can use wireless to connect to the Raspberry Pi or a wired connection. For Wireless you will need to connect a USB keyboard and a monitor to the Pi in order to set up your network. I’ll go over wired setup first as that is how I set mine up.
Ethernet Wired Connection
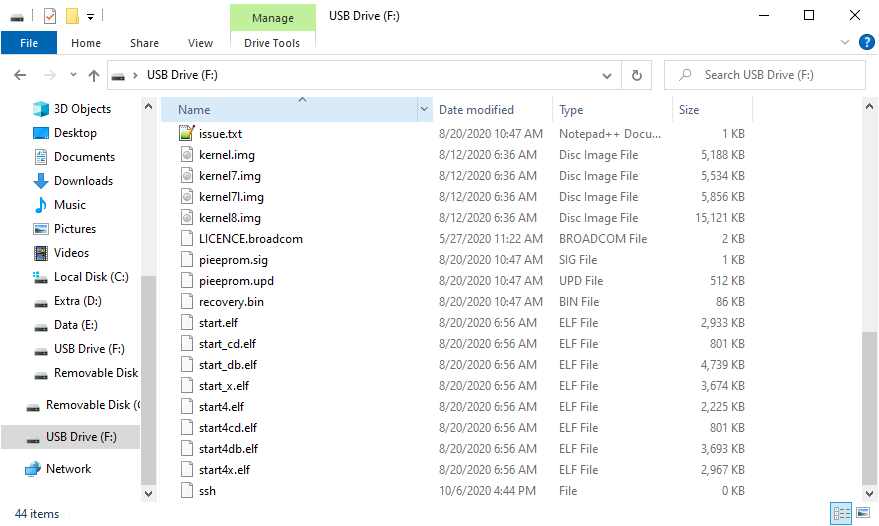
Create a file on the boot partition of the MicroSD called ssh by going to the path of the boot partition and running
touch ssh
If you are on windows you can navigate to the drive letter of the SD card boot partition and create an empty text file called ssh
Connect an ethernet cable to the Pi and plug in the power adapter to the port that says POWER IN.
Now look on your router to see what the IP address of your raspberry pi is. It should be something starting with 192.168.1.XXX
Now you can SSH into the pi using the username pi and password raspberry
Initial Configuration
Once you are connected first change the password of the pi account by running
passwd
Update all software to the latest version
sudo apt update
sudo apt upgrade
Run the raspberry pi config setup tool
sudo raspi-config
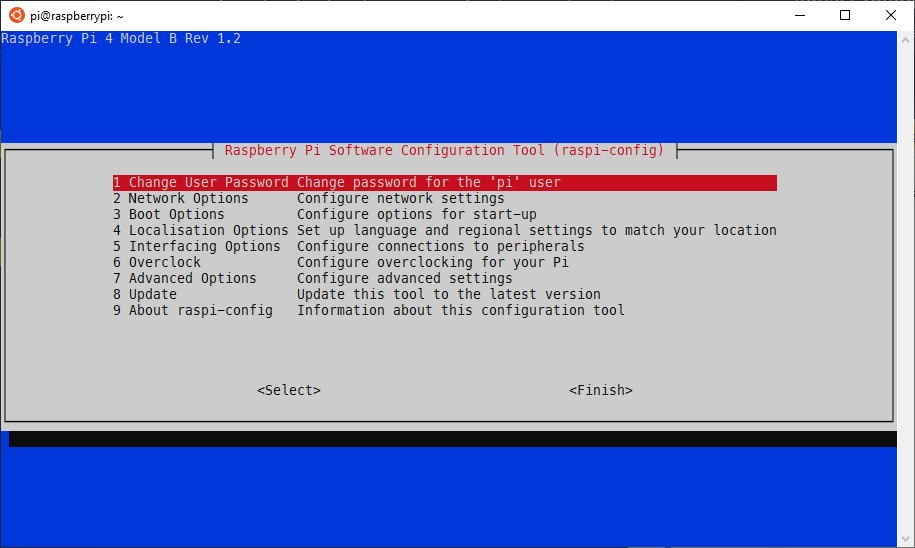
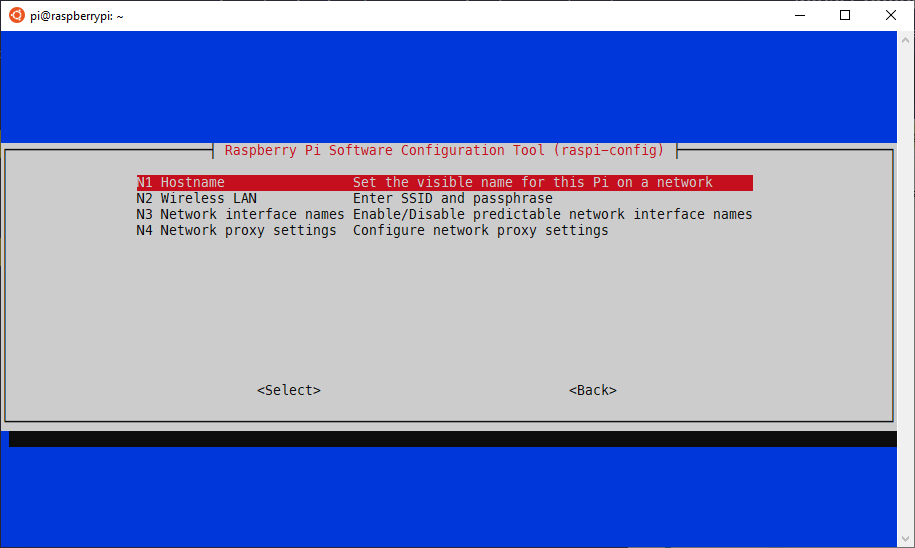
Click change hostname to change the name of the pi to something other than raspberry pi if you like
Go to Localization options and set the country, timezone, keyboard layout, WLAN country, settings then click finish to exit the raspi-config tool
Set your language
sudo update-locale LANGUAGE=en_US:en
Restart the pi to load the new settings
sudo shutdown -r now
Installing RetroPie
Install the prerequisites first
sudo apt install git lsb-release
Clone the RetroPie setup repo and run setup
git clone --depth=1 https://github.com/RetroPie/RetroPie-Setup.git
cd RetroPie-Setup
sudo ./retropie_setup.sh
Select Basic Install to install everything then go to Configuration/Tools autostart and select 1 Start Emulation Station at boot. Now select restart and RetroPie should automatically load at next boot.
Copy ROMs to Pi
Using a program like scp or filezilla you can copy the roms you like to the appropriate folder in /home/pi/RetroPie/roms
Optional Scraping
If you like the menu in emulation station to have pictures and all the info about your roms you can scrape this info from a web source using the instructions below
We will use the program called skyscraper. Start by installing the prerequisites
sudo apt-get install build-essential qt5-default
Next downlaod, compile, and install the software
cd
mkdir skysource
cd skysource
wget -q -O - https://raw.githubusercontent.com/muldjord/skyscraper/master/update_skyscraper.sh | bash
Before scraping and adding the data you need to close EmulationStation
sudo killall emulationstation
Example command to scrape all SNES games from Screen Scraper Make sure to create an account there and use that account for the username and password below
./Skyscraper -p snes -s screenscraper -u "username:password"
This will take some time depending on how many roms you have.
Next run skyscraper again to save the data into emulationstation
./Skyscraper -p snes
Once you have done the above steps for all platforms you can restart the raspberry pi and you should see all the scraped data